|
I post before and afters occasionally, but I really wanted to go in depth and show every step I do to take my images to art! For this shot, the sun was nearly gone, and we were racing against the clock to get in a few more shots of Kelsey over the bluff. It's definitely not a "technically" perfect image, but it's a fun, candid shot. Ok, here we go! Here's with what we're starting with. 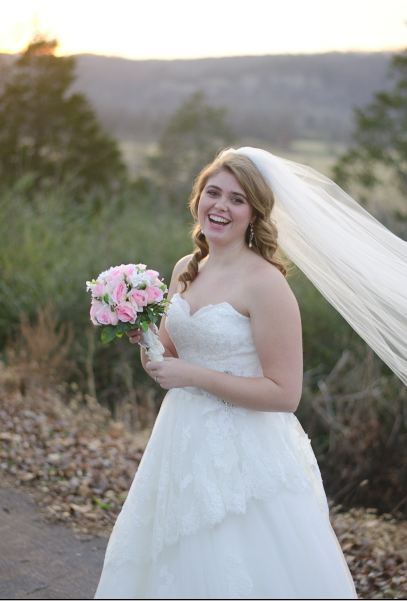
Then I pull it up in Adobe Camera Raw. 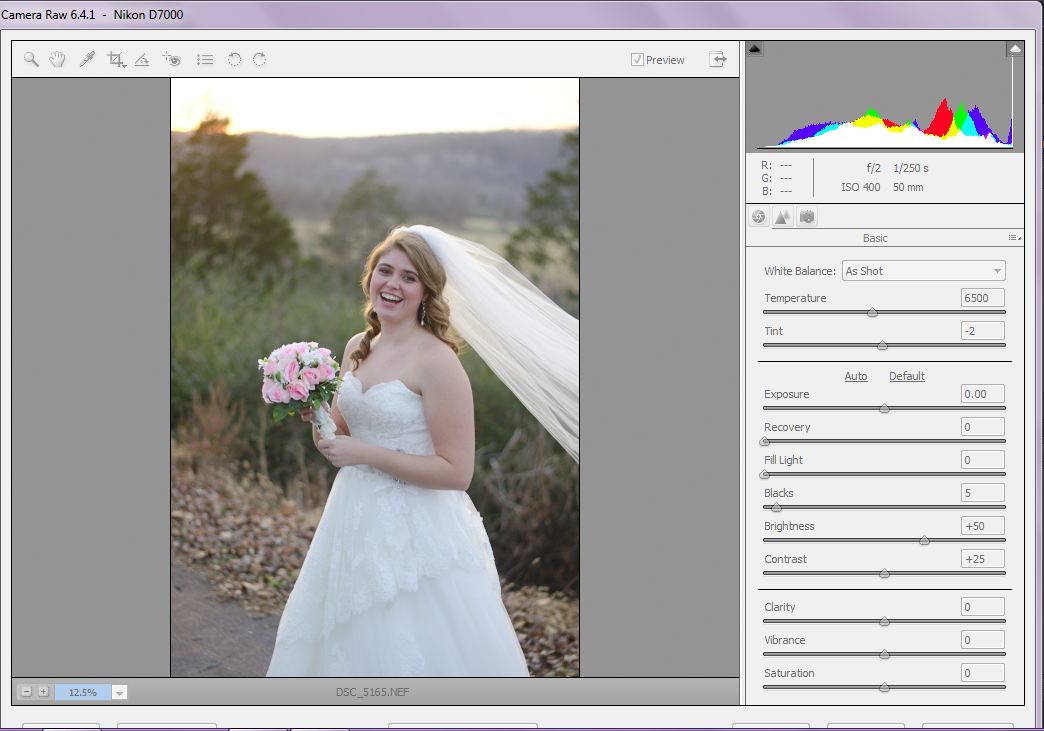
Then I adjust the blue-yellow slider towards the yellow side to warm it up. 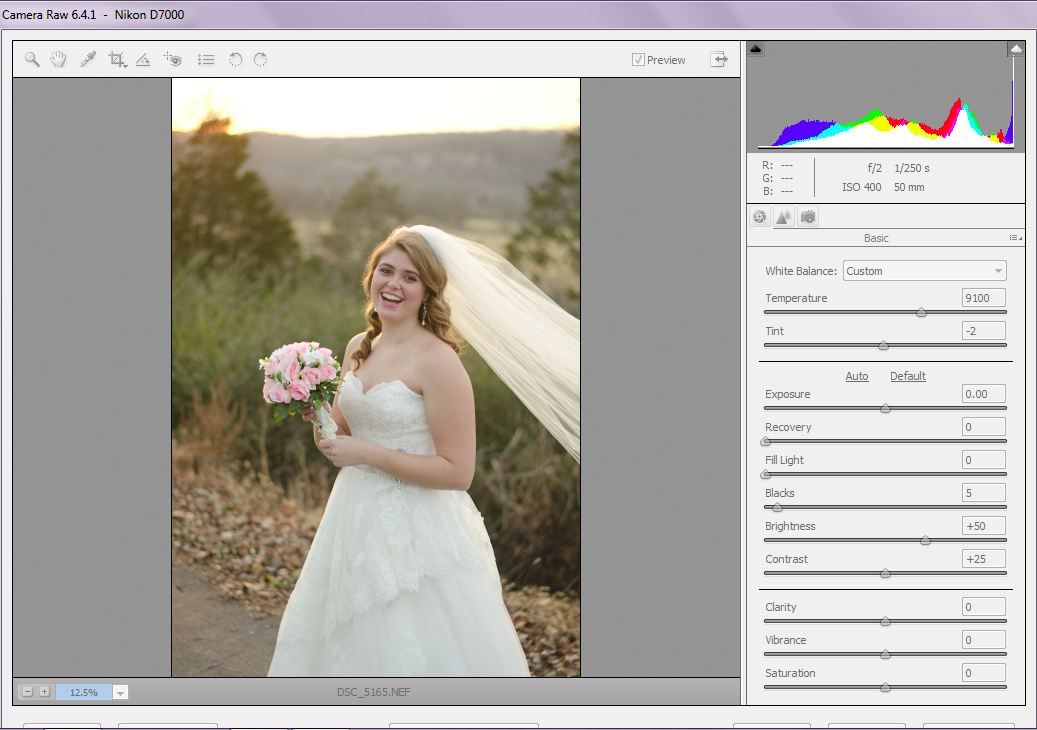
So now I wanted to have a little fun with the bouquet and change the color to match the tones of the image and to match the season a little better. I selected my paint brush, changed the color to orange, and set the opacity to 20%ish. I created a background duplicate, painted onto the bouquet, set the opacity of the layer to 58% or so and that was it! Easy! 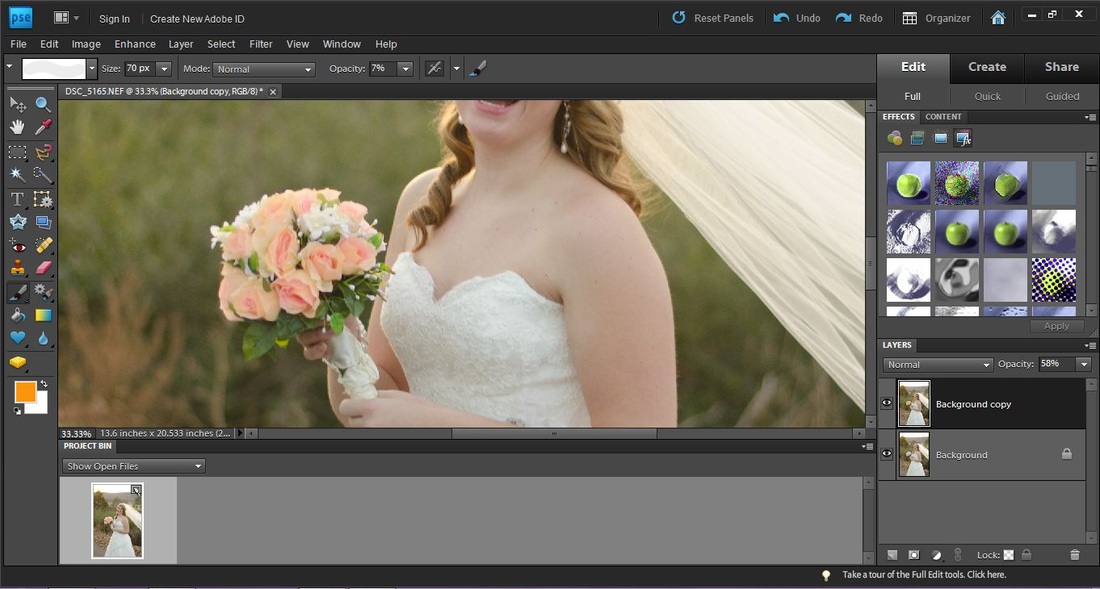
And then I run an action from Oh So Posh (http://ohsoposhphotography.com/artstore/). It was freebie called "Little Miss Muffet" and I use it on 99.999% of all my images! Best freebie ever! (Oh, and action only run to 11%. It's a STRONG action!) 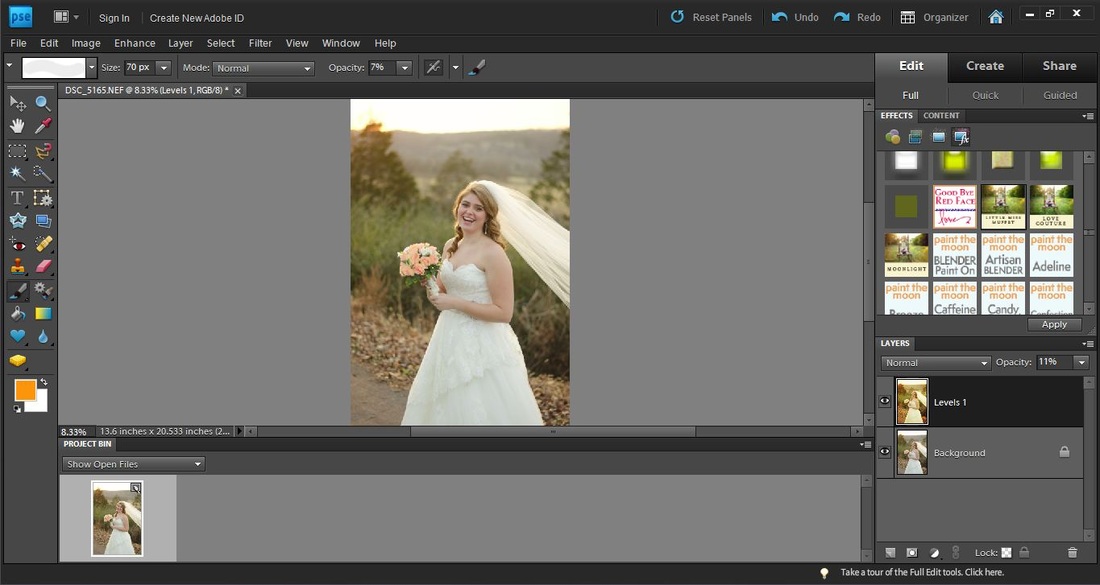
I wanted a softer, slightly hazy edit for this shot so I ran "Country Vintage" from Pure Actions for Photographers (http://purephotoshopactions.com/) from their Pure Vintage Set. I ran this at 31% for more subtle edit. 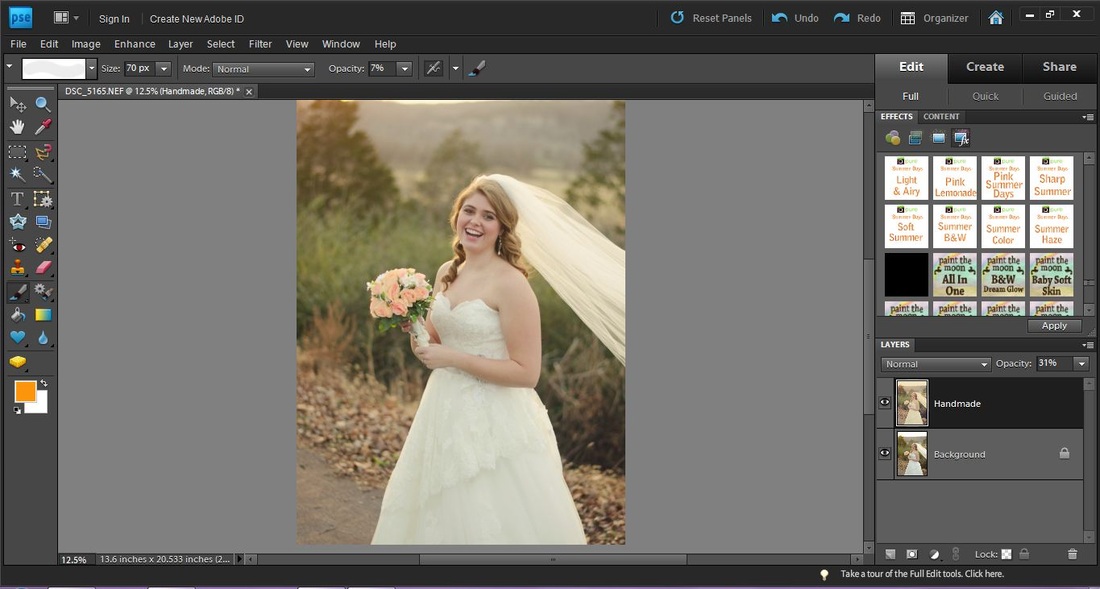
To finish nearly all my edits, I sharpen the eyes and smooth out the skin just a tad! Ran Pure's "Soft and Sparkly Baby." Sparkly on the eyes at 70%ish and soft on the cheeks and forehead at 50%. I used the healing tool to banish just a couple of tiny blemishes. Finally ran "It's All About the Bling" from Pure for just a little all-over sharpening. (Only ran at like 5%! Don't over-sharpen your pictures. I once heard if the hair looks crunchy to the touch, it's too sharp!) 
And that's it! Easy! Here's what it looks like finished! 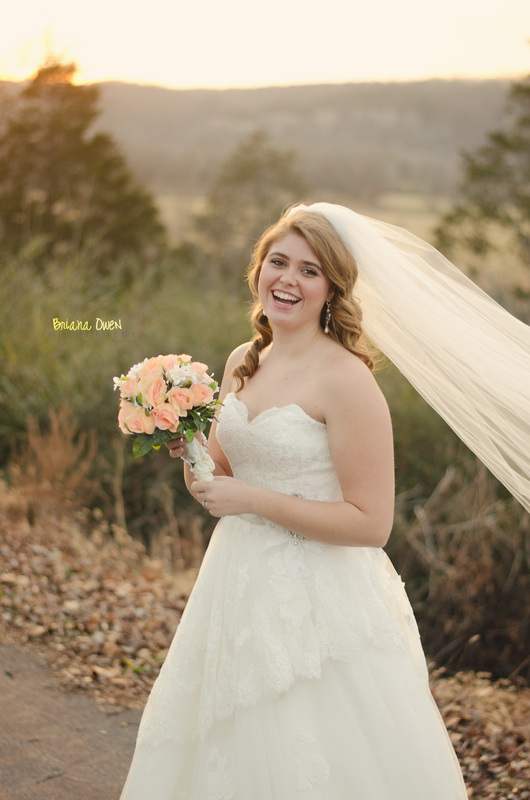
Thanks so much for reading. I hope this helpful to someone! Oh, and guess what?! It's Friday! Happy Weekend!
0 Comments
Leave a Reply. |
Archives
May 2019
|
 RSS Feed